What is an earmould?
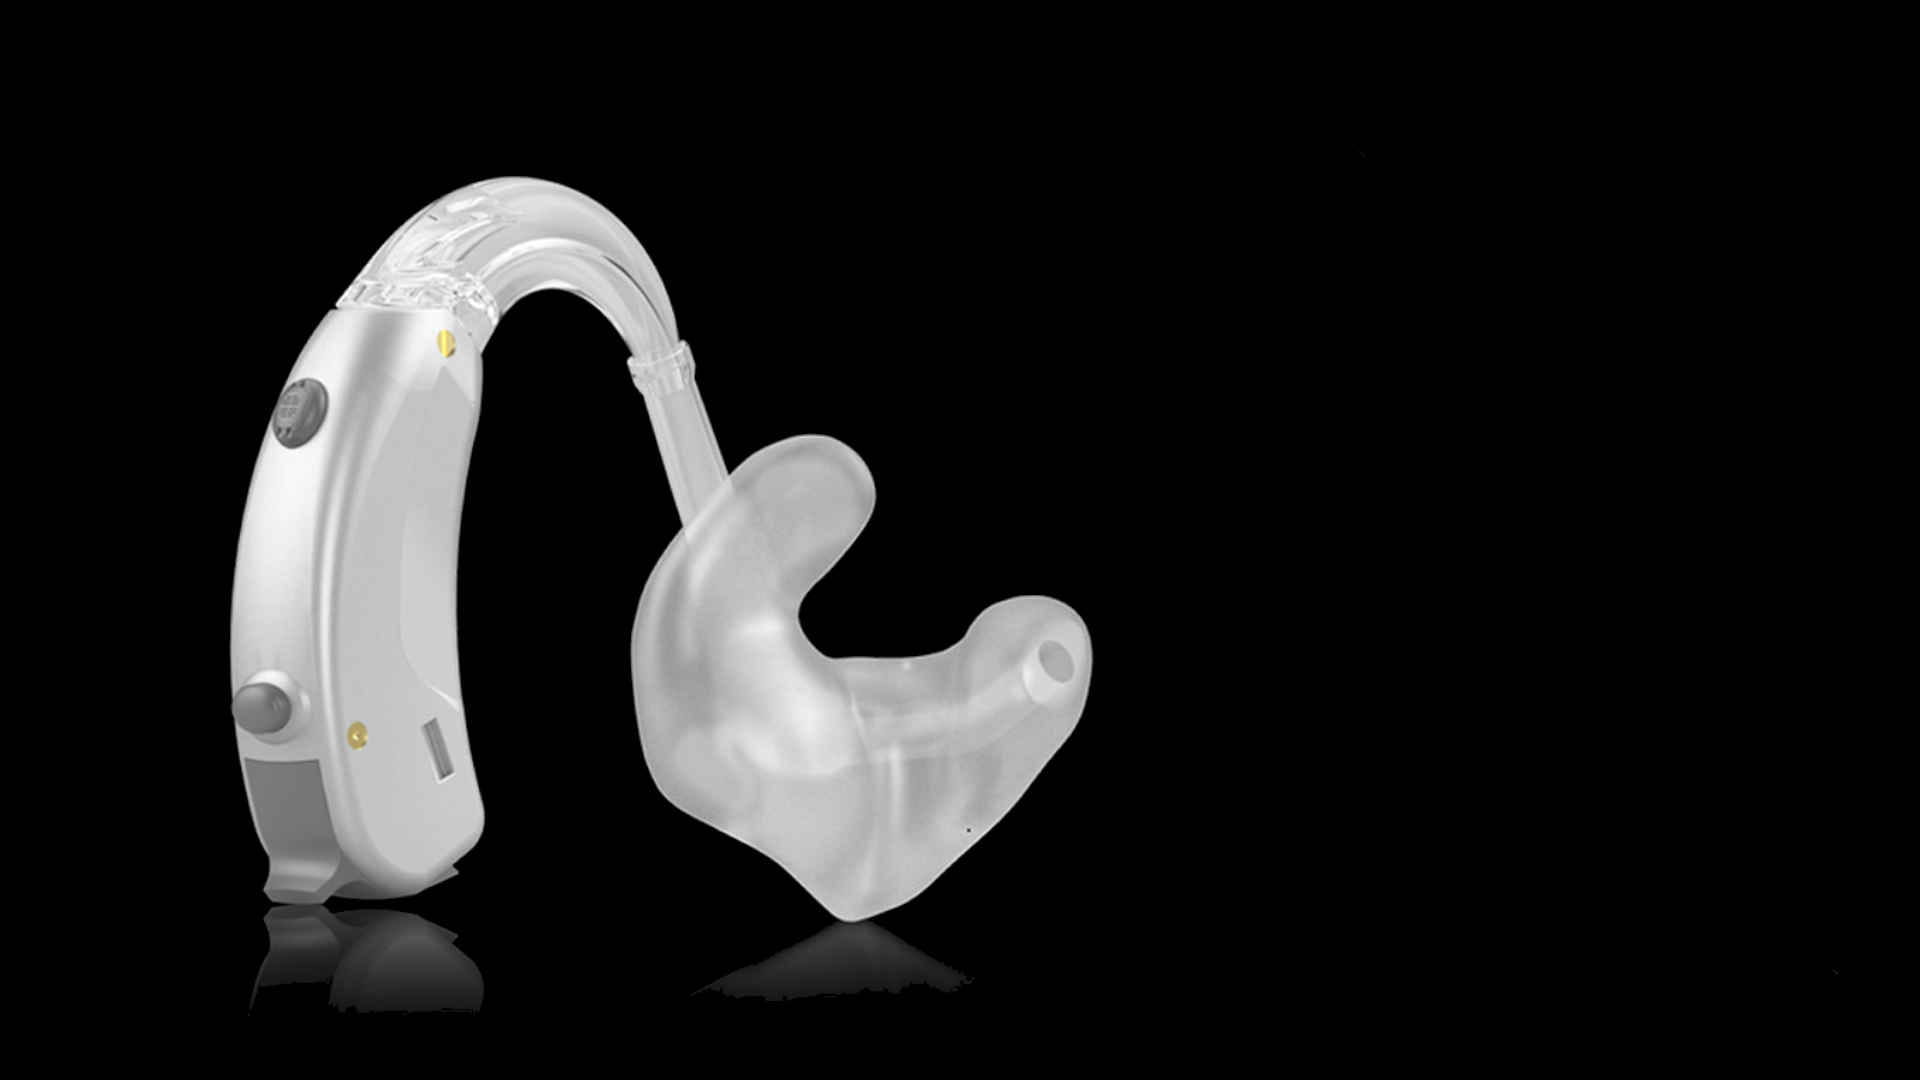
If you wear a behind-the-ear hearing aid (BTE), you also have an earmould or an ear tip. Earmoulds for behind-the-ear hearing aids are essential parts of hearing aids. The design of these will greatly affect your comfort, because the sound that your hearing aid reproduces is influenced by the shape of these moulds.
The earmould’s main purpose is to conduct sound from a behind-the-ear (BTE) hearing aids into your ear. It also helps ensure that the hearing aid rests securely on your ear. A well-fitting earmould helps prevent feedback whistling from the hearing aid by preventing sound leakage.
It is important that the earmould’s tube to the hearing aid is of the correct length and is clean, unbroken and soft. If the tube is too short, you may feel an uncomfortable pull on the earmould. If it is too long, it will be difficult to keep the hearing aid in place behind the ear. Your local hearing professional will make sure that your earmould fits properly in your ear.
What is an earmould made of?
An earmould is a piece of plastic that is molded to fit the shape of your ear. There are several parts to an earmould.
- A hole is drilled in the mold that will pave the way to your ear canal.
- A vent can also be made in the mold to improve sound quality. While vents can be a huge help with sound quality, they can also contribute to avoiding “occlusion” problems, which can make the sound of your own voice seem hollow or booming. Your hearing care professional may need to try a few different earmould set-ups before finding the one that is best for you.
- Tubing is mounted on the hook of your hearing aid to help direct sound from the hearing aid to your inner ear. Tubing is usually clear and almost invisible, but some people like to decorate their tubing or use fun colors.
Creating your earmould
The first thing your hearing care professional will do after you have chosen a behind-the-ear or in-the-ear hearing aid is take an impression of your ears. This is necessary in order to make a casting of your earmould or shell and to better understand the shape of your ear. Your mould will be created to the exact shape of your ear, and taking this impression of your ear is the first step to a successful hearing aid fitting. The key to a well-fitting earmould is an accurate impression.
Taking the ear impression involves two main steps:
- Inspection of the ear: Your hearing care professional will begin the process by inspecting your ear canal with an otoscope. An otoscope is a medical device that is used to look into your ears. Your doctor has probable used one if you had a cold or complained of ear pain. The otoscope has a built-in lamp that lights up the ear canal. With this device, your hearing care professional can see if your ear canal looks normal, or if your ear’s physical condition makes it impossible to take an impression of your ear. Accumulation of earwax, skin flakes, irritation of the ear canal, abnormal cavities in the ear canal, and an abnormal ear canal can all make it difficult to take an impression of your ear. It’s important that your hearing care professional rules out these issues before creating your earmould.
- Taking an impression: Once your ear has been inspected, your hearing care professional will take an impression of your ear. This involves inserting a soft material into your ear, which will later harden to your ear’s shape. Impression material is silicone-based and is a mixture of two substances that will react to make the material harden.
You may be nervous about having “green goop” injected into their ears, but have no fear. The process is harmless and painless. Impression taking involves the following steps:
- Insertion of an otoblock: Before injecting the impression material into the ear, a hearing care professional will insert an oto-block into the ear canal. This prevents the impression material from coming too close to your eardrum.
- Injection of impression material: The impression material is injected into your ear with a syringe. It will probably feel like your ears are blocked during this process. While the impression material hardens, try to open and close your mouth or make chewing movements. Once your impression material hardens, the impression is carefully removed from your ear.
- Checking the finished impression: After your impression is removed, it will be checked for irregularities, dents, unfilled gaps, and air holes.
Manufacturing your earmould
The finished impression of your ear is sent to your hearing aid manufacturer or an earmould laboratory. The choice of earmould and type of hearing aid depends on several factors, like the shape of your ear or your type of hearing loss. The impression will be then shaped to your desired hearing aid model – like a behind-the-ear hearing aid.
Two types of earmoulds can be made:
- Hard earmoulds: These are made with photoplastic material that cures with exposure to ultraviolet light. It is easy to keep clean and can be adjusted
- Soft earmoulds: These are made with silicone and are shaped according to the form of your ear. They are great for active children, and are mostly used for severe degrees of hearing loss.
The final product is shaped to have the desired acoustic properties and to conform with your hearing loss, hearing aid type, and the dimensions of your ear.
Using your earmould
To insert your earmould, turn off your hearing aid or turn the volume down. The broad curve of the earmould should be towards the back of your head, and the elbow of the earmould should point upwards.
- Insert the earmould into your ear from behind at a slanting angle. It may be helpful to gently pull your outer ear backwards and upwards so that the ear canal widens and slightly straightens. Earmoulds slip easily into place in some people’s ears, while in others they must be gently “rocked” into place.
- When removing the earmould from the ear, turn off the hearing aid or turn the volume down. Then gently pull the earmould out of the ear.
Cleaning your earmould
It’s important to clean your earmould once or twice a week.
Follow these directions to clean your earmould:
- Carefully ease the tube, which is connected to the earmould, from the hearing aid hook.
- Rinse the earmould and tube in lukewarm running water.
- Put the earmould and tube in a bowl of mild soapy water or in an effervescent solution similar to that used for cleaning dentures. Let it soak for at least 10 minutes so that any earwax or dirt is loosened.
- Dry the earmould with a soft cloth.
- Let the earmould dry overnight on absorbent cloth or paper, with the sound outlet end of the earmould pointing down, so any remaining moisture can drain out.
- Attach the tube and earmould to the hearing aid.
IMPORTANT: Never put cotton buds, toothpicks, pipe cleaners or similar pointed objects into the earmould.